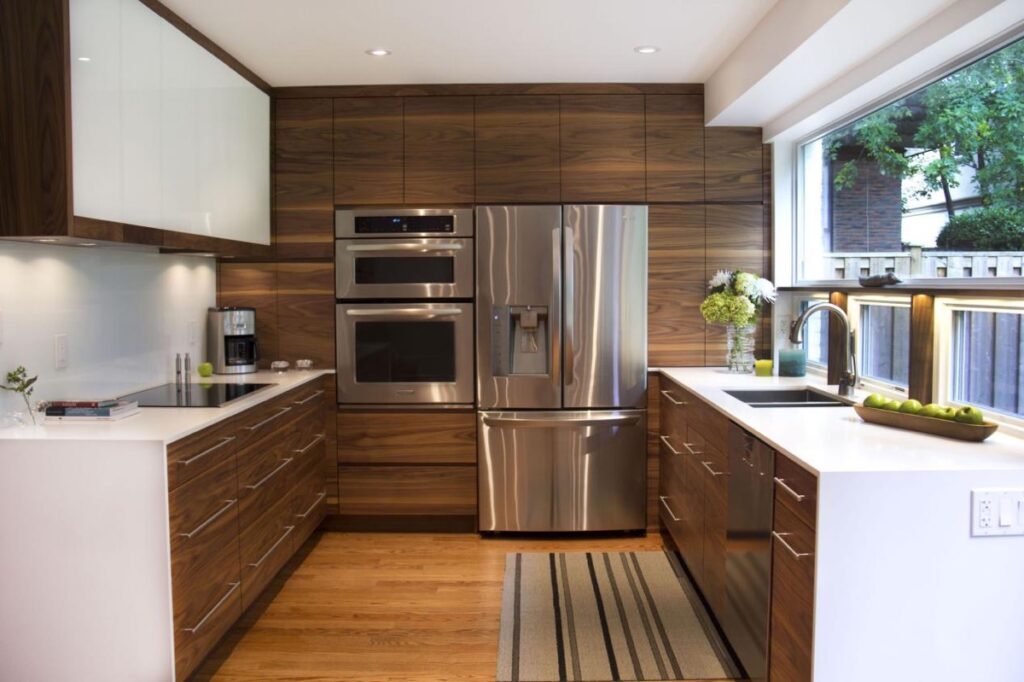
Installing kitchen cabinets yourself can be a rewarding project that saves you money and gives you a sense of accomplishment. However, it’s a task that requires careful planning, precision, and the right tools. Whether you’re updating your kitchen with new cabinets or reconfiguring the layout, these tips and tricks will help ensure a successful DIY kitchen cabinet installation.
1. Plan Your Layout Carefully
Before you begin the installation, it’s essential to plan the layout of your kitchen cabinets:
- Measure Twice: Take accurate measurements of your kitchen space, including walls, ceilings, and existing plumbing or electrical outlets. Double-check your measurements to ensure a perfect fit.
- Layout Design: Use graph paper or an online design tool to map out the placement of each cabinet. Consider the work triangle principle (sink, stove, refrigerator) to optimize kitchen efficiency.
- Pre-Installation Prep: Mark the wall with the location of each cabinet. Use a pencil to draw lines that indicate the top and bottom edges of the cabinets and the location of the studs.
2. Gather the Right Tools and Materials
Having the correct tools and materials on hand will make the installation process smoother:
- Tools: You’ll need a tape measure, level, drill, stud finder, clamps, shims, screws, and a screwdriver. A laser level can be particularly useful for ensuring your cabinets are perfectly aligned.
- Materials: Make sure you have all the necessary hardware, including cabinet screws, brackets, and mounting strips. You may also need wood filler and caulk for finishing touches.
3. Prepare the Walls
Proper wall preparation is key to a successful installation:
- Locate Studs: Use a stud finder to locate and mark the studs in the wall. Cabinets should be anchored to the studs for maximum stability.
- Check for Level: Use a level to check if the walls and floor are even. If not, you’ll need to use shims during installation to ensure the cabinets are level and plumb.
- Remove Obstacles: Clear the installation area of any obstructions, such as existing trim or molding. If your kitchen has old cabinets, remove them carefully without damaging the walls.
4. Install Upper Cabinets First
It’s generally easier to install the upper cabinets before the base cabinets:
- Support the Cabinets: Use a ledger board (a temporary wooden strip) screwed into the wall just below where the bottom of the upper cabinets will be. This will help support the weight of the cabinets while you secure them in place.
- Align and Secure: Align the cabinets with the marks on the wall and use clamps to hold them together. Drill pilot holes and then secure the cabinets to the wall studs using cabinet screws. Start with the corner cabinet and work your way out.
- Check for Level: After securing each cabinet, use a level to ensure they are properly aligned. Make adjustments with shims as needed before fully tightening the screws.
5. Install Base Cabinets
With the upper cabinets in place, you can now move on to the base cabinets:
- Position and Level: Position the base cabinets according to your layout. Use shims under the cabinets to level them if the floor is uneven. It’s crucial to ensure the cabinets are perfectly level to avoid issues with countertops later.
- Secure to Wall: Drill pilot holes and secure the base cabinets to the wall studs using cabinet screws. Attach the cabinets to each other by drilling through the side frames and securing them with screws. Use clamps to keep them aligned while fastening.
- Check for Alignment: As you install each base cabinet, continuously check for alignment with the upper cabinets and countertops. Make adjustments as necessary.
6. Install Cabinet Doors and Drawers
Once the cabinets are securely in place, you can install the doors and drawers:
- Attach Hinges: Install the hinges on the cabinet doors according to the manufacturer’s instructions. Align the doors with the cabinet openings and attach them using the screws provided.
- Adjust Doors: Most cabinet hinges are adjustable. Fine-tune the doors to ensure they open and close smoothly and align with the cabinet frame.
- Install Drawers: Slide the drawers into place, following the manufacturer’s instructions. Ensure they glide smoothly and sit flush with the cabinet front.
7. Finish with Trim and Molding
Adding trim and molding gives your cabinets a polished, professional look:
- Crown Molding: Install crown molding along the top edge of the upper cabinets to cover any gaps and add a decorative touch.
- Toe Kicks: Attach toe kick panels at the base of the lower cabinets to cover the gap between the cabinets and the floor.
- Fill Gaps: Use wood filler to fill any gaps or holes, and caulk any seams where the cabinets meet the walls for a seamless finish. Touch up with paint or stain as needed.
8. Inspect and Finalize
Once all the cabinets, doors, and drawers are installed, take the time to inspect your work:
- Test Doors and Drawers: Open and close all doors and drawers to ensure they operate smoothly. Make any final adjustments to hinges or drawer slides.
- Clean Up: Remove any protective film from the cabinets, clean up dust and debris, and polish the surfaces to reveal your newly installed kitchen cabinets.
Conclusion
Installing kitchen cabinets yourself can be a challenging yet rewarding project. By carefully planning your layout, using the right tools, and following these tips and tricks, you can achieve a professional-looking result that enhances your kitchen’s functionality and style. Whether you’re a seasoned DIY enthusiast or tackling your first big project, these steps will guide you through a successful kitchen cabinet installation.


