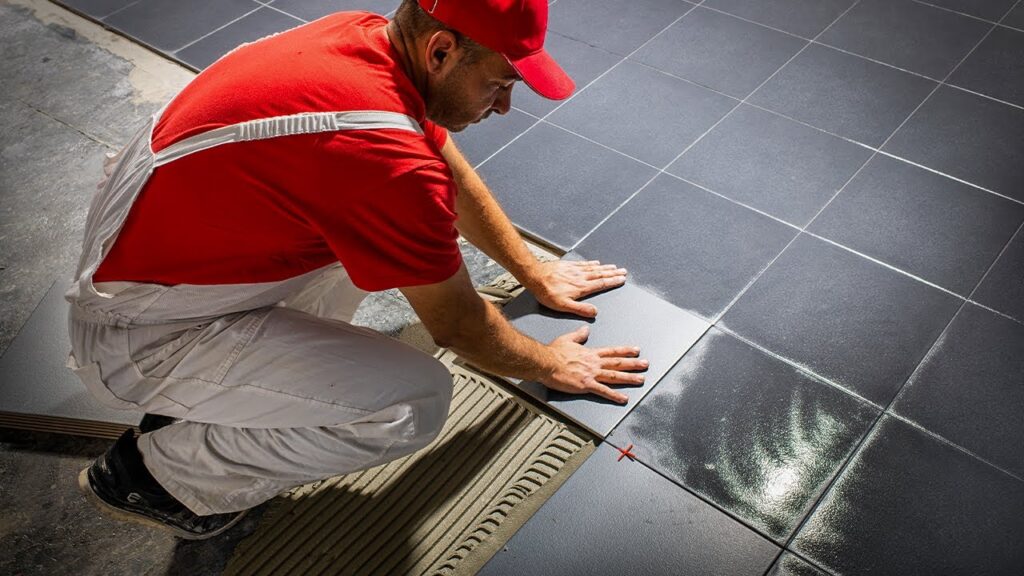
Installing tiles can dramatically enhance the beauty and functionality of any space, but achieving a professional finish requires careful planning and attention to detail. Whether you’re a seasoned DIY enthusiast or a first-time tiler, these top 10 tips will help you achieve a flawless result.
1. Start with a Solid Foundation
A successful tile installation begins with a stable and level surface. Ensure that the substrate (floor or wall) is clean, dry, and free of debris. If you’re working on a floor, check for any uneven spots and level them out. For walls, make sure the surface is smooth and primed, especially if you’re tiling over existing surfaces.
2. Plan Your Layout Before You Start
Before you start applying adhesive, lay out your tiles on the floor in the pattern you intend to use. This will help you visualize the final result and make any necessary adjustments. Starting from the center and working your way outwards ensures that the cut tiles at the edges will be symmetrical and that the design is balanced.
3. Use the Right Tools
Having the right tools is essential for a professional finish. You’ll need:
- Tile Cutter: For straight cuts.
- Tile Nippers: For irregular cuts and around obstacles.
- Trowel: To spread adhesive evenly.
- Spirit Level: To check that tiles are level.
- Spacers: To ensure consistent gaps between tiles.
- Rubber Mallet: To gently tap tiles into place.
Investing in good-quality tools can make a significant difference in the outcome of your project.
4. Choose the Right Adhesive and Grout
Selecting the appropriate adhesive and grout for your specific tile type and the surface you’re working on is crucial. For instance:
- Ceramic and Porcelain Tiles: Use a cement-based adhesive for a strong bond.
- Glass Tiles: Opt for a white adhesive to avoid discoloration.
- Natural Stone Tiles: Use a grout that is compatible with the stone type to prevent staining.
Always follow the manufacturer’s recommendations for the best results.
5. Apply Adhesive Evenly
Applying the adhesive correctly is key to ensuring that your tiles adhere properly. Use a notched trowel to spread the adhesive on the surface, holding it at a 45-degree angle. This ensures that the adhesive is applied evenly and that the tiles will be properly secured. Avoid applying too much adhesive, as this can cause the tiles to sit unevenly.
6. Set Tiles with Precision
When setting tiles, place them carefully onto the adhesive and press down firmly. Use spacers to maintain consistent gaps between each tile. Check each row with a spirit level to ensure they are even. If a tile is slightly uneven, use a rubber mallet to tap it gently into place.
7. Cut Tiles Accurately
Accurate cutting is essential for a polished finish, especially around edges and obstacles like pipes or outlets. Measure twice and cut once to avoid mistakes. Use a tile cutter for straight cuts, and tile nippers or a wet saw for intricate shapes. For a clean edge, smooth out any rough cuts with a tile file.
8. Mind the Grout Lines
Grout lines play a crucial role in the overall appearance of your tiled surface. After the adhesive has dried, remove the spacers and apply grout using a rubber float. Work the grout into the gaps at a 45-degree angle to ensure full coverage. Once the grout starts to set, use a damp sponge to wipe off excess grout from the surface of the tiles.
9. Seal the Grout
Sealing the grout is a critical step in protecting your tiled surface from moisture and stains. After the grout has fully cured (typically after 24 to 48 hours), apply a grout sealer according to the manufacturer’s instructions. This will help maintain the appearance and durability of your tiles over time.
10. Give It Time to Set
Patience is key to achieving a professional finish. After the tiles and grout have been installed, allow sufficient time for everything to set properly. Avoid walking on newly installed floor tiles for at least 24 hours, and refrain from heavy cleaning or exposure to water for a few days to ensure the adhesive and grout fully cure.
Conclusion
Tile installation can be a rewarding project that significantly enhances the beauty and value of your home. By following these top 10 tips, you can achieve a professional finish that not only looks great but also stands the test of time. Careful planning, the right tools, and attention to detail are the keys to a successful tile installation.


